
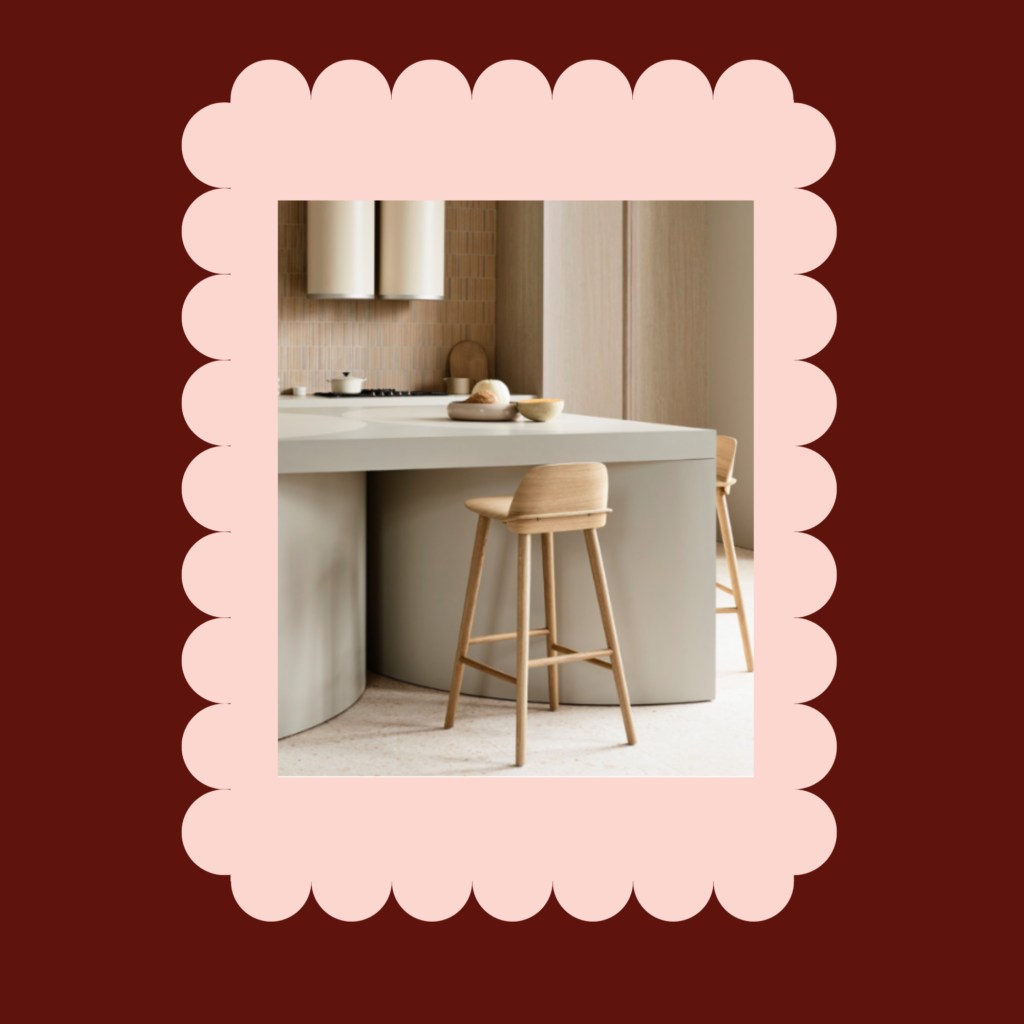
How to curve joinery
Today, we’re diving into the world of joinery and curves. We’ll cover the radius of curves, the materials that can be curved, the costs involved, and how to dimension a curve for a joiner.
If it’s not your first time on the curve rodeo, you’ll know that curves increase joinery costs due to the extra labour required—time is money!
Plus, not all materials can be curved, and some have limitations on how much they can bend. Let’s break down the essentials so you can master the art of curved joinery.
LAMINATE
- It can be curved.
- Cold-forming Laminate requires a MINIMUM of 150mm radius.
- Anything tighter would cause the Laminate to break and splinter.
- The laminate thickness influences the degree of curvature that can be achieved.
BUT I WANT A TIGHTER CURVE…
Yes, you can do a post-formed curve down to around 5mm, but this requires a special post-forming machine, which softens the resins in the laminate sheet and allows it to be bent and conformed to the shape of the substrate.
Think of the 70’s benchtops!
TIMBER VENEER:
Like above, you can curve veneer but must be mindful of the radius.
It can’t be super tight as the veneer still has some rigidity to the product.
However, you can use a paperback veneer.
Which looks like this:
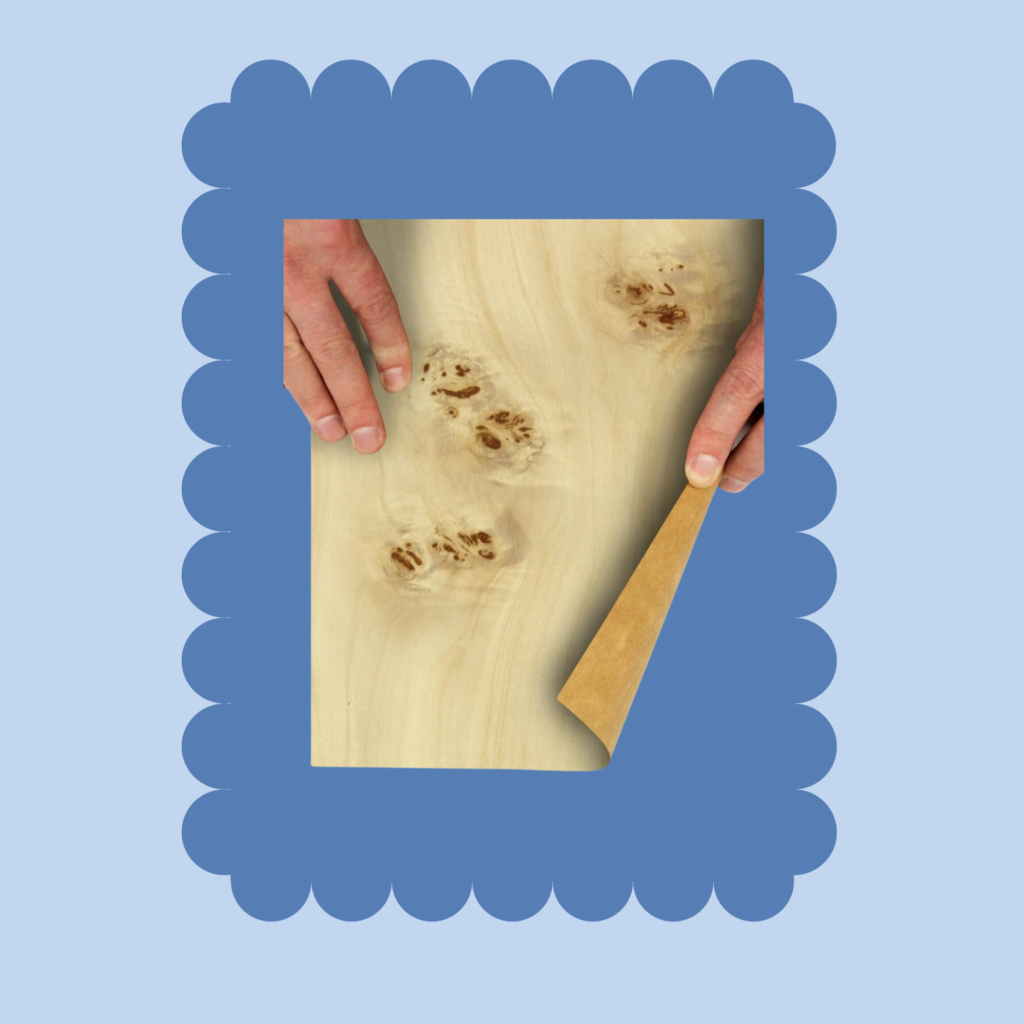
Paperback veneer has more range to bend, flex, and curve, but the radius you can achieve is still limited.
Also, consider the direction of the grain. You must go along the grain length if you want a tighter curve.
If you still are NOT satisfied and want a REALLY TIGHT curve, then let’s do a little role-play:
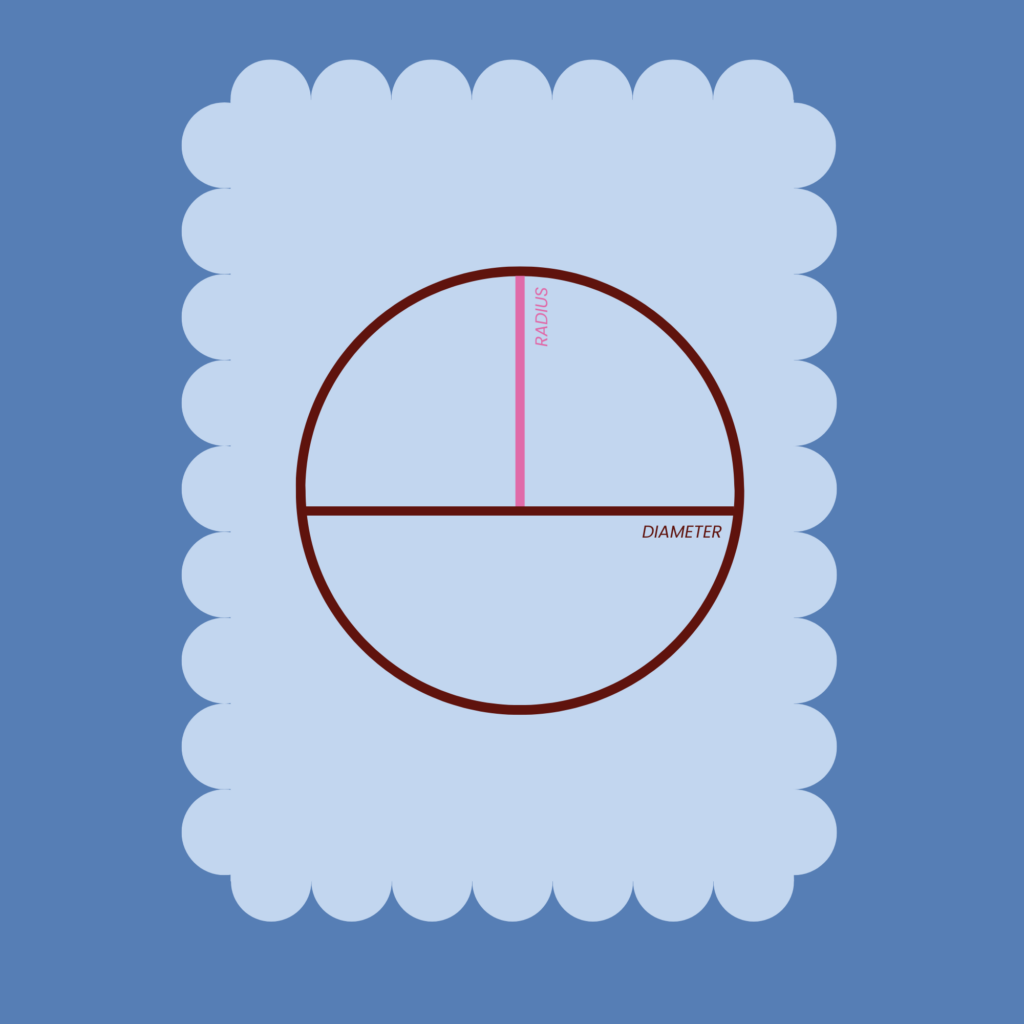
I want to design a custom kitchen island with 200mm round-diameter legs.
Let’s go back to school; remember mathematics?
A 200mm diameter gives you a radius of 100mm.
What finishes could I use to create this leg?
✖ Laminate (curve too tight, needs a radius OVER 150mm). Post-forming would be the only viable option.
✔ Timber veneer—Yes.
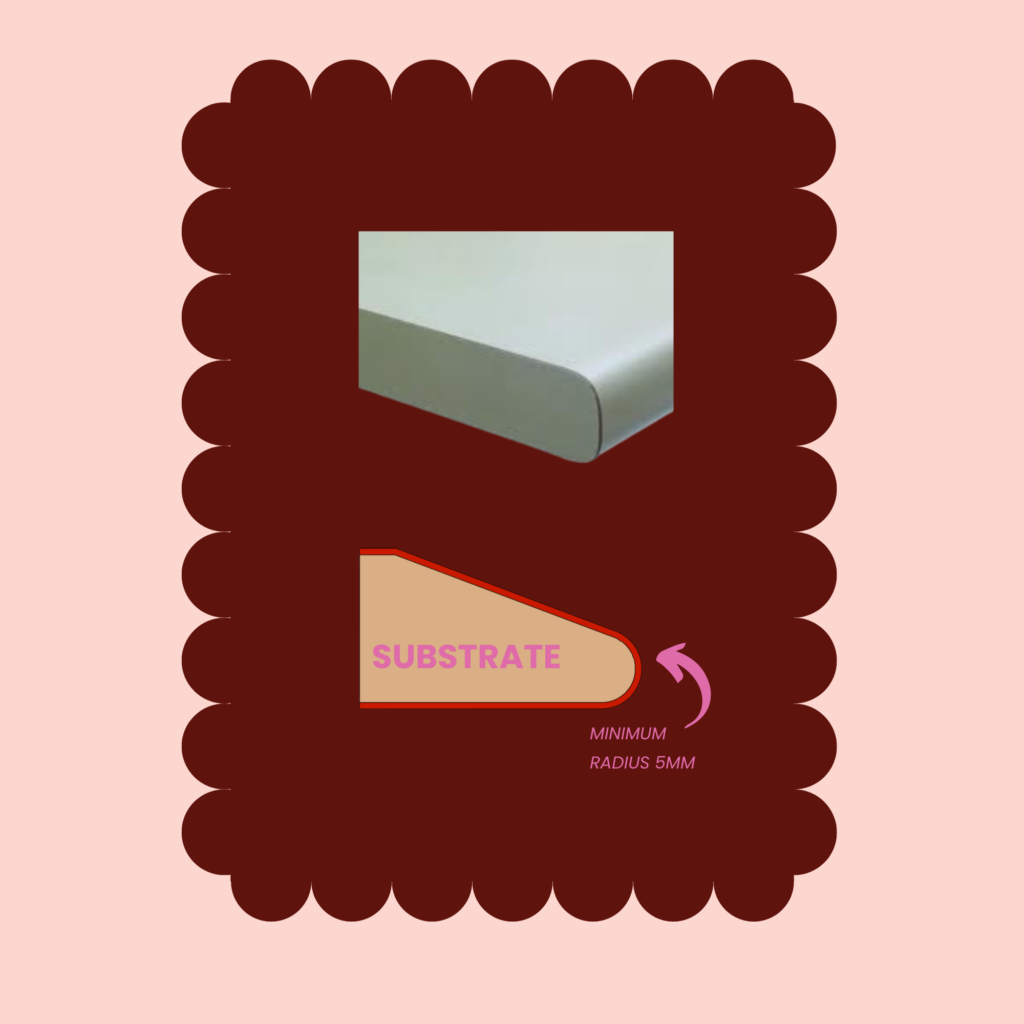
CONSTRUCTION METHOD:
A substrate will be formed from laminated MDF or a ribbed cylinder. This substrate would then be wrapped in a layer of flexible ply, which gives the veneer a flat surface to adhere to.
If you were doing a leg less than 100mm, this would likely be constructed of solid timber. Solid timber is laminated timber glued together to form a block of wood, which will then be placed on the lathe.

Therefore, veneer might be your preference as there are fewer join lines.
The other options would be:
+ 2PAC POLY: The curved leg will be constructed from a substrate (MDF or PLY) and then formed using a few methods (steamed, kerfed, laminated). Once the desired curve is created, it can be spray-finished in 2PAC.
+ Applied finishes such as hand painted or Marmorino plaster.
+ Metals.
+ Natural Stone (laminated stone OR solid.)
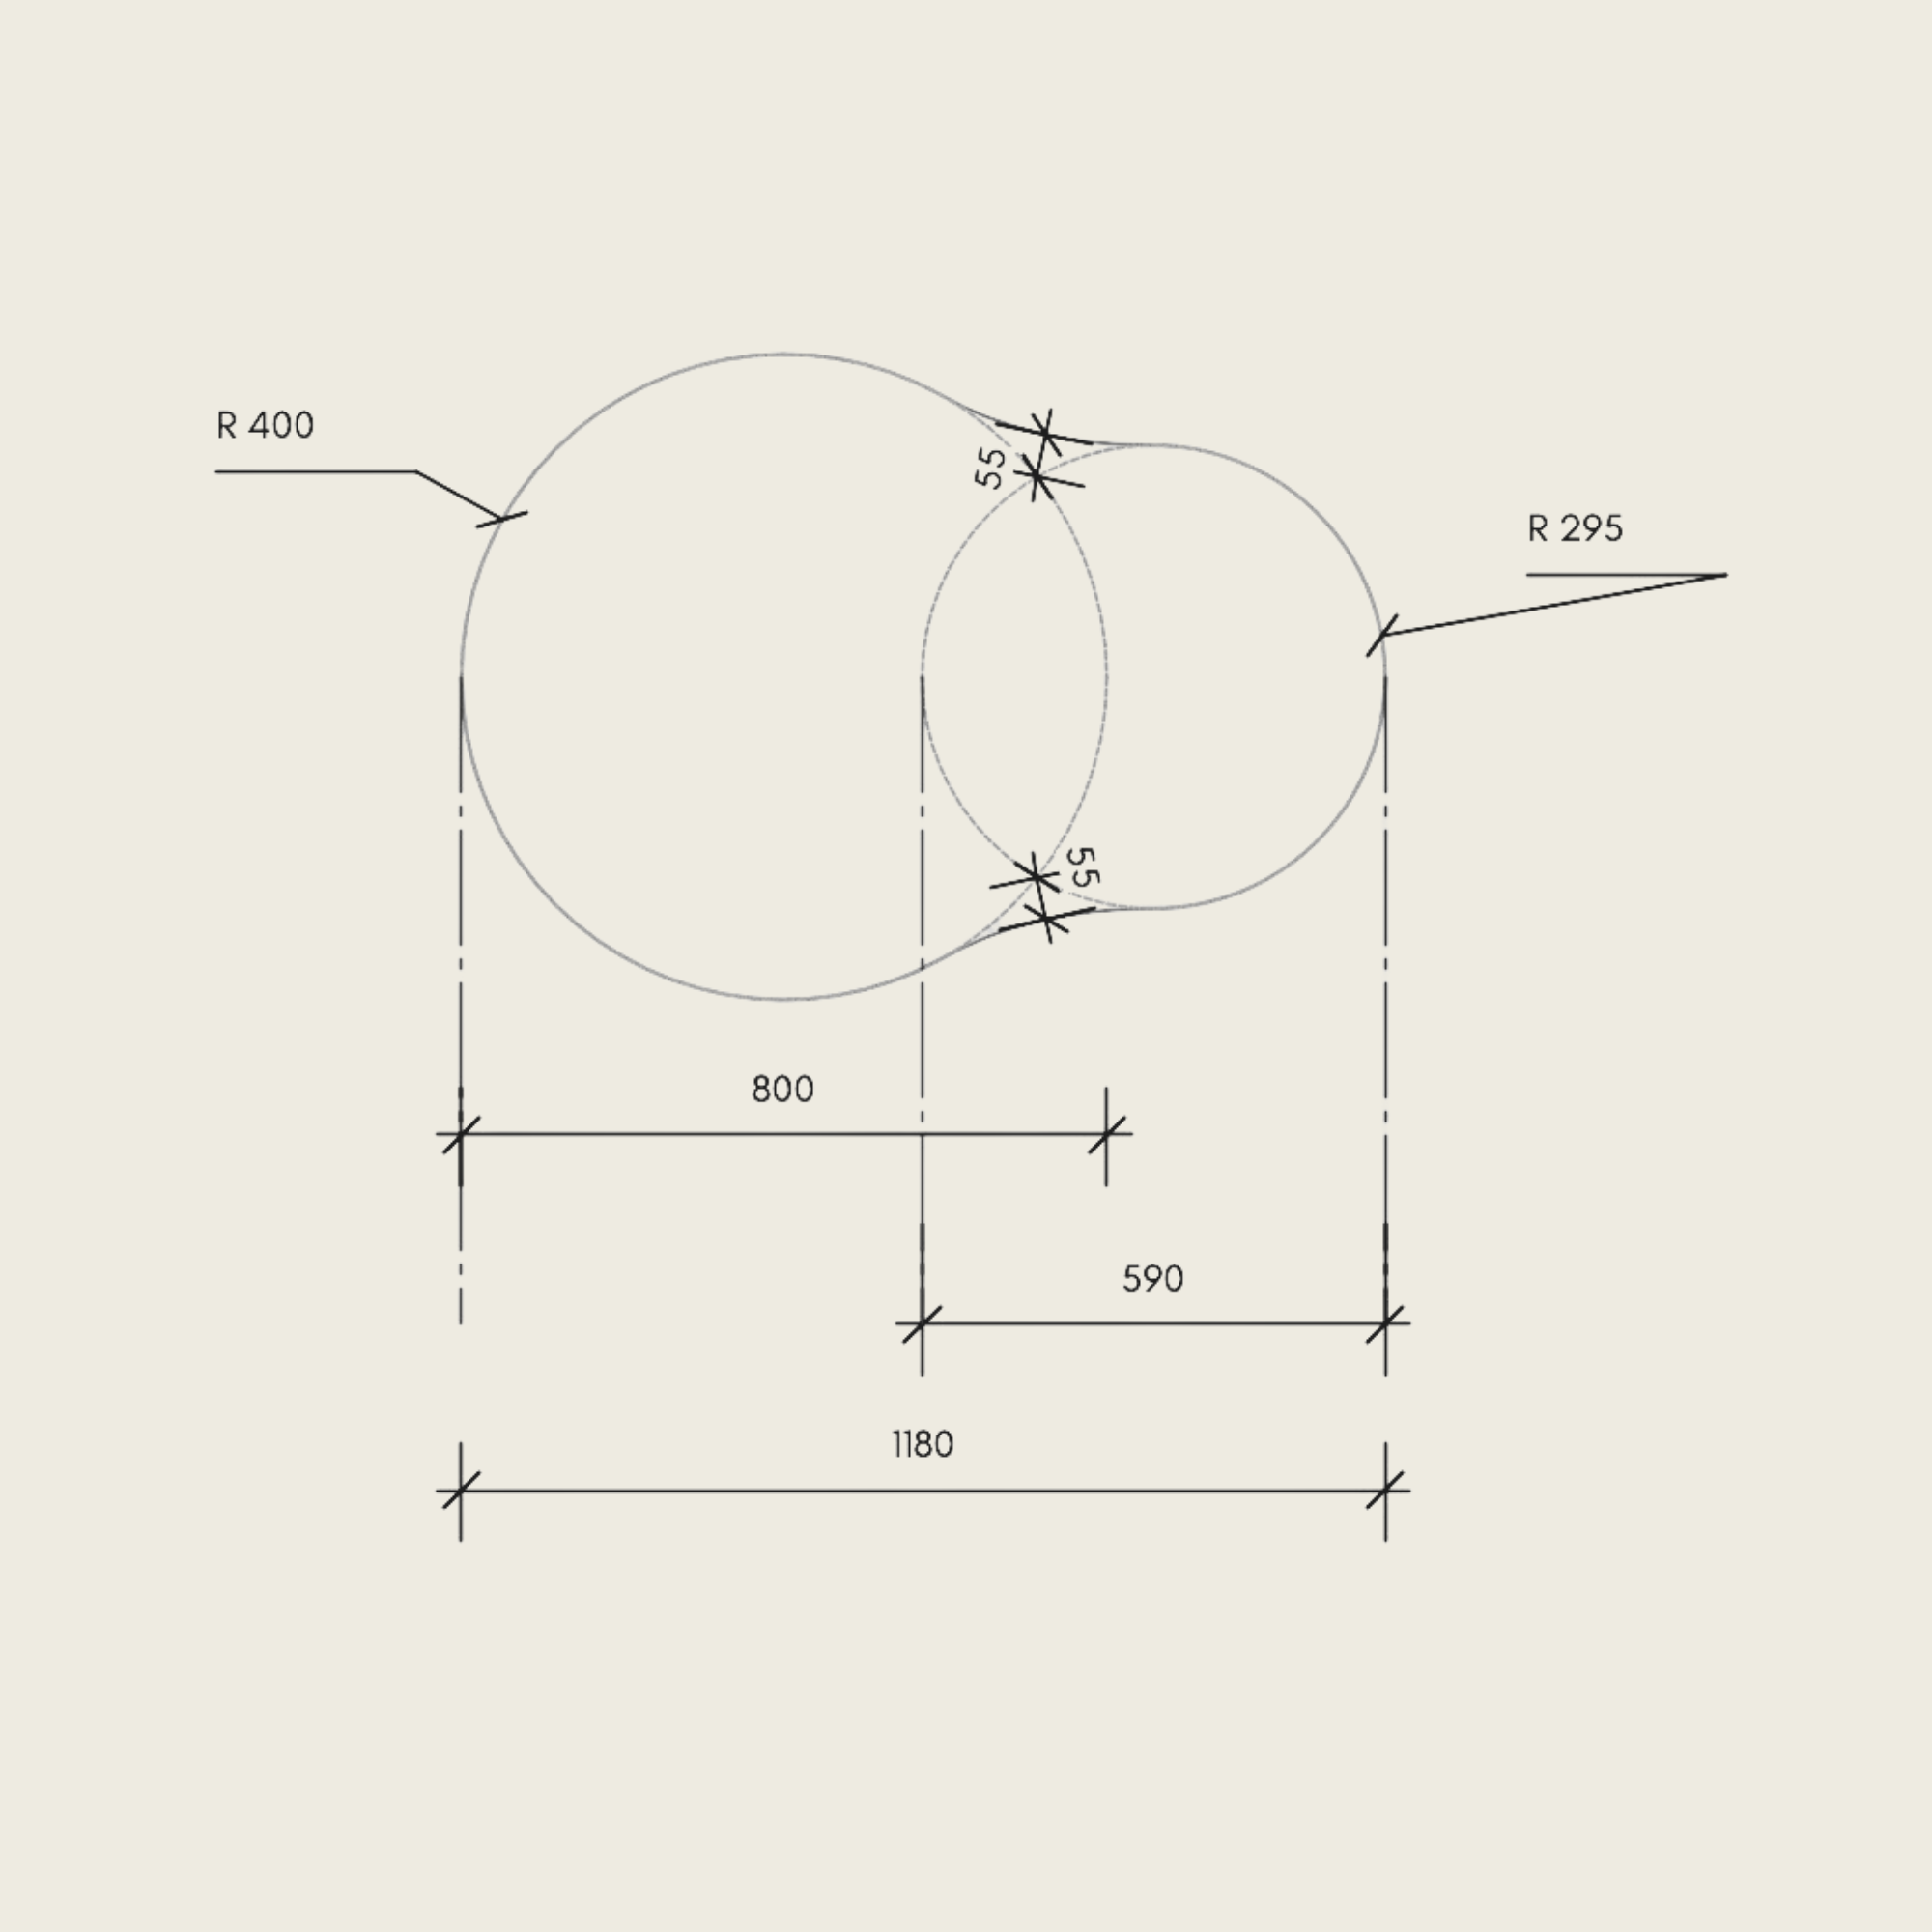
The final part of the question was how to document curves on drawings.
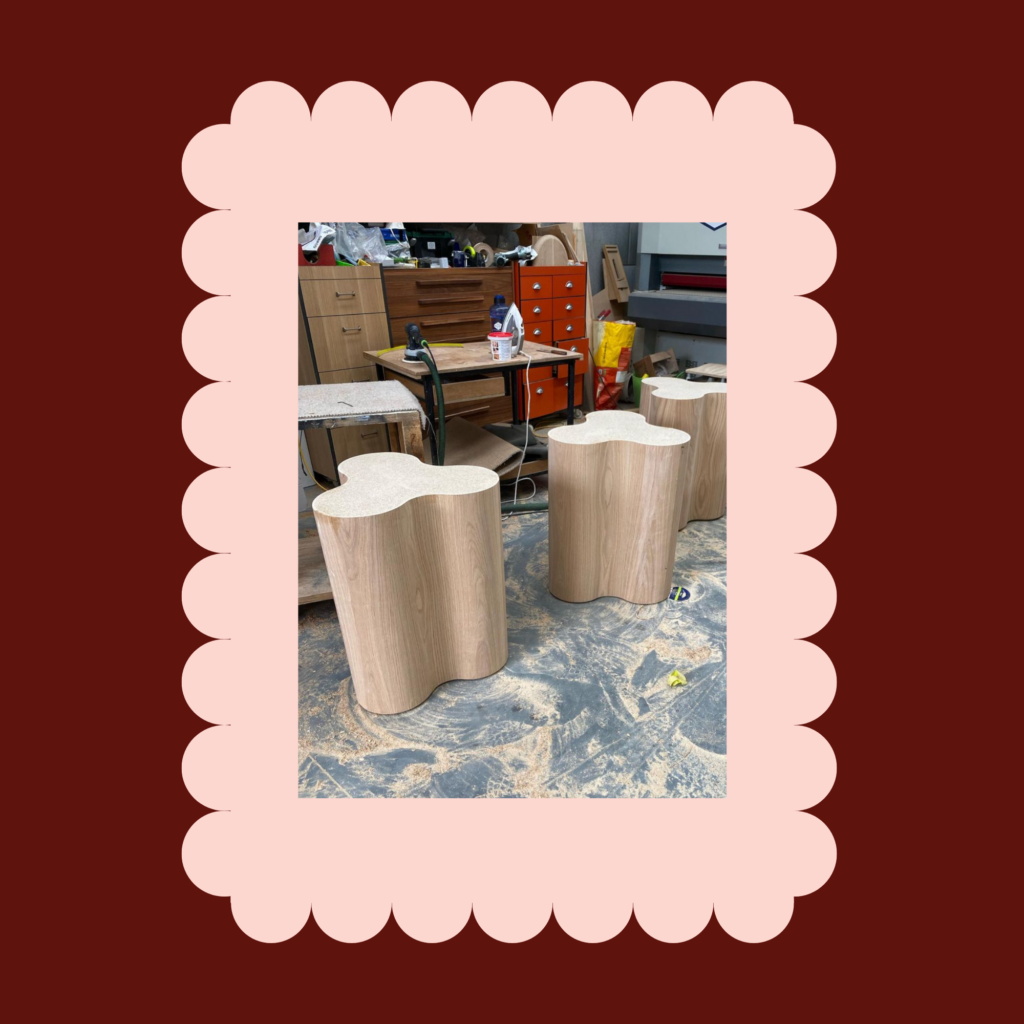
This is how I did it for a custom table:
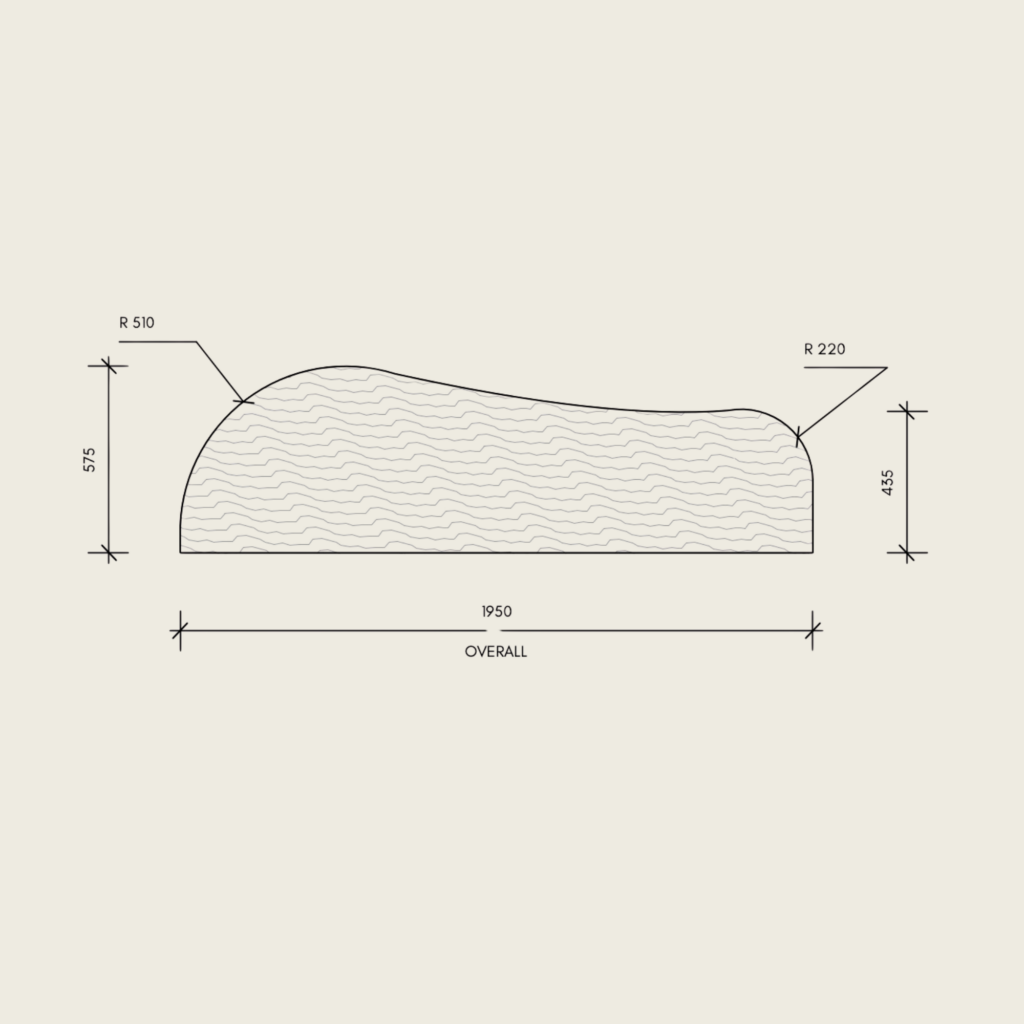
And this is how I did it for a entry console:
Remember, joinery is not linear.
This is general information only.
Always consult your joiner for specific details and limitations.

Comments +