What exactly is a floating shelf?
It’s a shelf attached to the wall, in this case, stone with CONCEALED structural support. Thus giving the appearance that it’s floating. This needs to be considered early in the project, as it’s not for the faint-hearted, and stonemasons will only perform this visual trickery if you can provide adequate structure.
In fashion, the floating stone shelf would be the little black dress. An effortless look, straightforward, uncomplicated and striking. But we all know that this minimalistic style requires serious groundwork!
KEY CONSIDERATIONS FROM THE OUTSET:
+ Location – Where is the floating shelf being installed?
+ Wall construction – Is this on a structural wall (masonry) or a partition wall (stud).
+ Span – shelf length. A stone shelf in the kitchen will likely span much further than a stone shelf in a shower.
+ Shelf depth – The deeper the stone shelf, the more required structural support. For example, a shelf depth < 150mm is suitable for glasses/salt and pepper, etc. OR, if you desire a shelf depth to hold plates/bowls, you aim for 250-300mm.
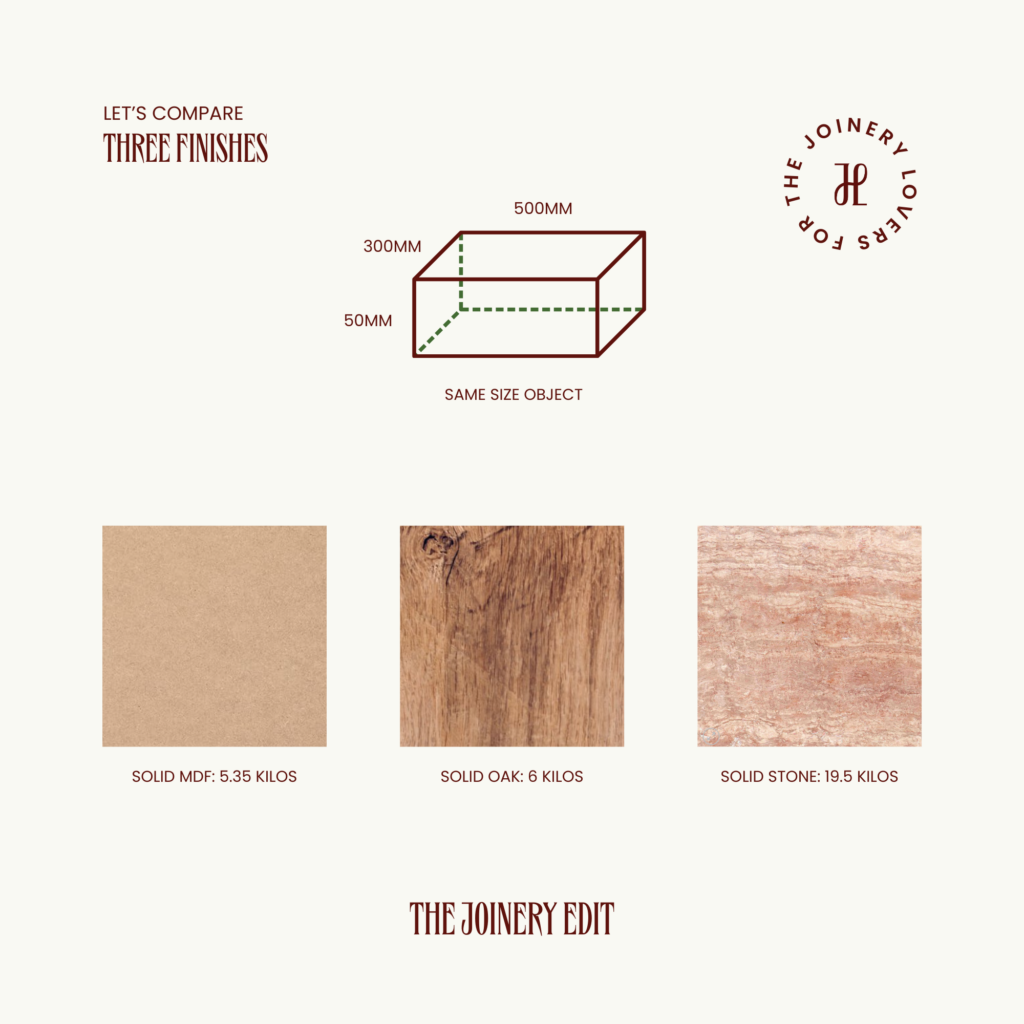
+ Weight – The elephant in the room; natural stone is heavy, like REALLY bloody heavy. But whilst we’re on the subject of the weight of the actual stone, you also need to consider what you want to display on top of the stone shelf, as a few glasses are considerably different weight-wise than a collection of ceramics.
Stone Weight:
Lets compare three finishes to illustrate how heavy stone is.
Did you know that the weight of a stone can vary depending on the type of stone? This is due to factors such as density and porosity. Next time you’re alone with your samples, close your eyes and compare the weight of travertine to granite. *You don’t need to be alone, but closing your eyes and holding samples may make people question your sanity!

The Desire…
How deep do you want it?
The deeper the shelf, the more reinforcement you will require. The reinforcement method will, in turn, determine the thickness of the stone. Let’s break this down into two scenarios with some role-play to set the scene.
👩🏻 Sarah is the designer
👨🏼🦰 Frank is the stone mason
Sarah wants a floating shelf in a kitchen she is designing. She wants the shelf to be 300mm deep and 20mm thick and run the entire joinery span (2400mm).
Frank is working late in the factory; he is busy moisturising his dry, chapped hands. He hears a ping on his computer alerting him to an 📧. He reads over Sarah’s email request and opens the attached drawings.
Frank sees RED.
“How the bloody hell will we fix this shelf to the wall?” He slams his computer shut and heads to the pub, a chicken snitty. The following day, Frank calls Sarah.
👨🏼🦰 Frank: Hi Sarah, It’s Frank…
Can I be frank with you (that was too easy to pass up). I received your drawings last night AND I have good and bad news? Which do you want first?
👩🏻 Sarah: The bad.
👨🏼🦰 Frank: It’s impossible to get a 300mm deep shelf in 20mm thickness, but the good news is I can do this in 50mm thick.
👩🏻 Sarah: Why is that Frank?
👨🏼🦰 Frank: For a shelf to be 300mm deep, I need to run structural support to take the weight of the stone. Do you know the wall construction where this shelf is going to run?
👩🏻 Sarah: Yes, it’s a brick masonry wall.
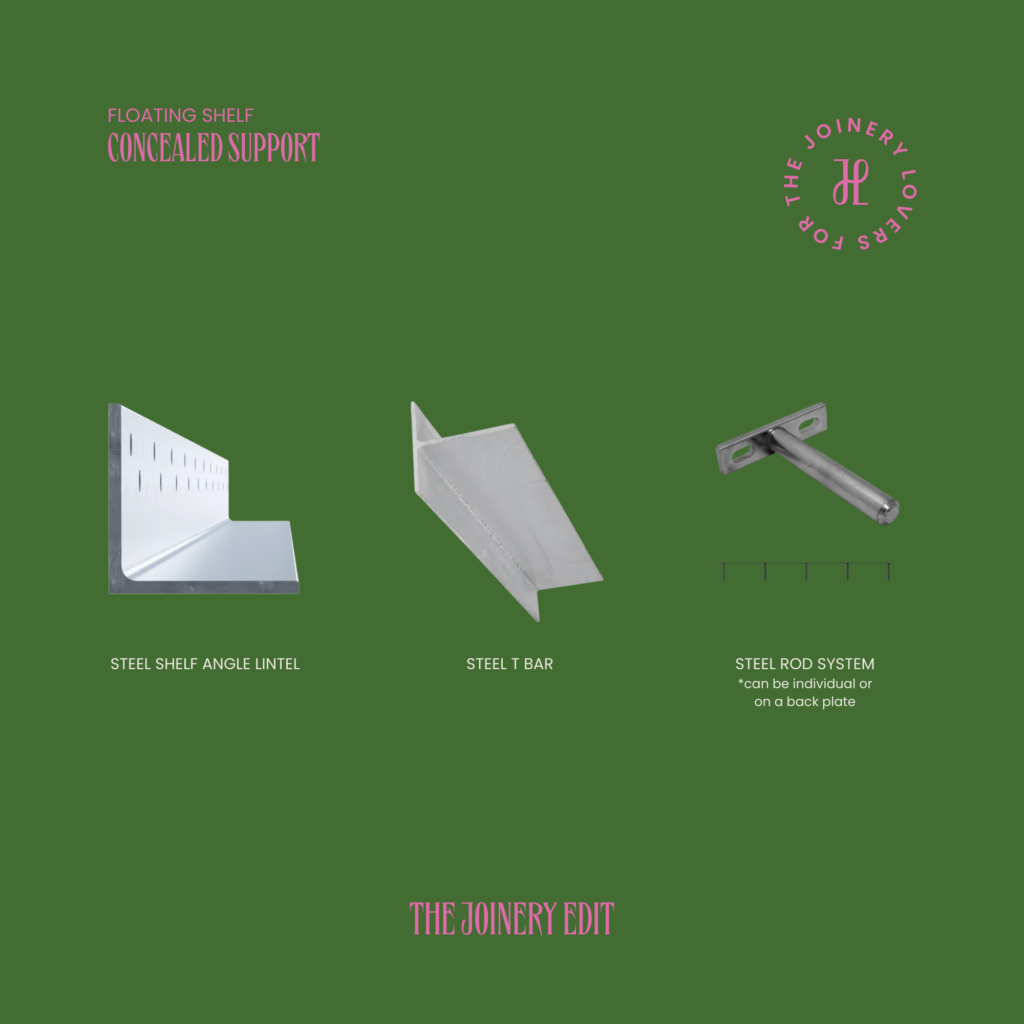
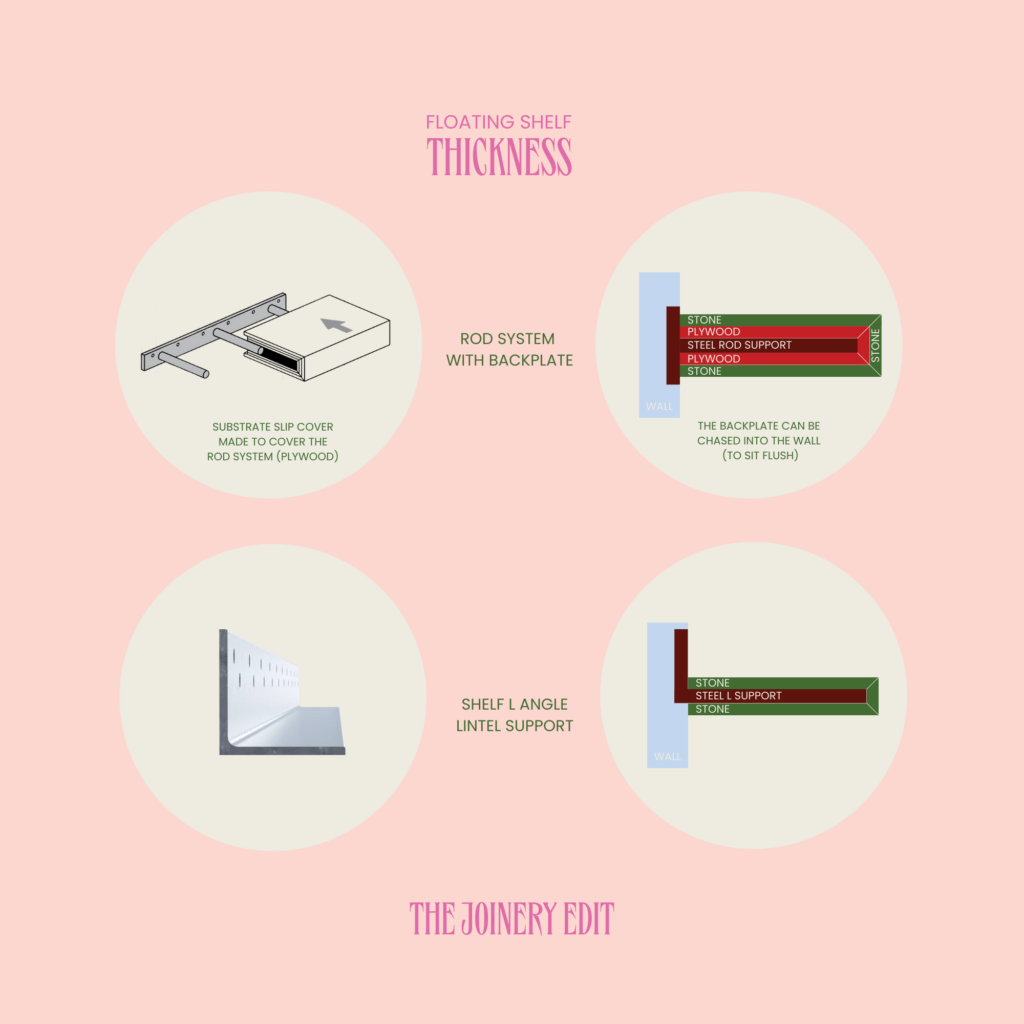
👨🏼🦰 Frank: Great, that is good news. We can fix the steel support directly onto the brick wall. There are a few ways this can be done. It can be a steel shelf lintel that runs the entire shelf length and is bolted to the wall, or we can do a rod system with a backplate (200mm centres).


👩🏻 Sarah: Thank you, Frank. Why can’t the stone be 20mm thick?
👨🏼🦰 Frank: Think of the construction here. The steel support system needs to be concealed. We can chase the rear of the steel bracket into the masonry wall; however, we will be left with the steel protrusion we need to hide.If we do a rodded structural system, we need to box out the rods with plywood to create a flush surface for the stone to adhere to. This increases the “thickness” of the stone.
An “L” shelf bracket lets you fix the stone straight onto the steel. So, the shelf thickness can be thinner (less buildup).
The Pros:
1. To conceal the fittings, the shelf depth can be decent, 70/80mm (minimum)
The Cons:
1. Depending on the support bracket system, the stone shelf will have a thick front of 50/60/70mm.
2. Cost: more labour is required for the steelwork, joiner, and stone mason. More work for stone manufacturing to mitre stone.
👩🏻 Sarah: Thank you, Frank. I need to update my client. Can you advise why the stone can’t be 20mm thick like I have seen in the magazines?
👨🏼🦰 Frank: You mean the floating Houdini…. (Disclaimer: this is not the actual name. Although, I am sure anyone on a building site would find this humorous.)
This method can only be used when:
1. You only need a SHALLOW shelf <150mm
2. You can chase a channel into the masonry wall at least 30mm deep.
3. You opt for a stone splashback (to help take the weight of the shelf).
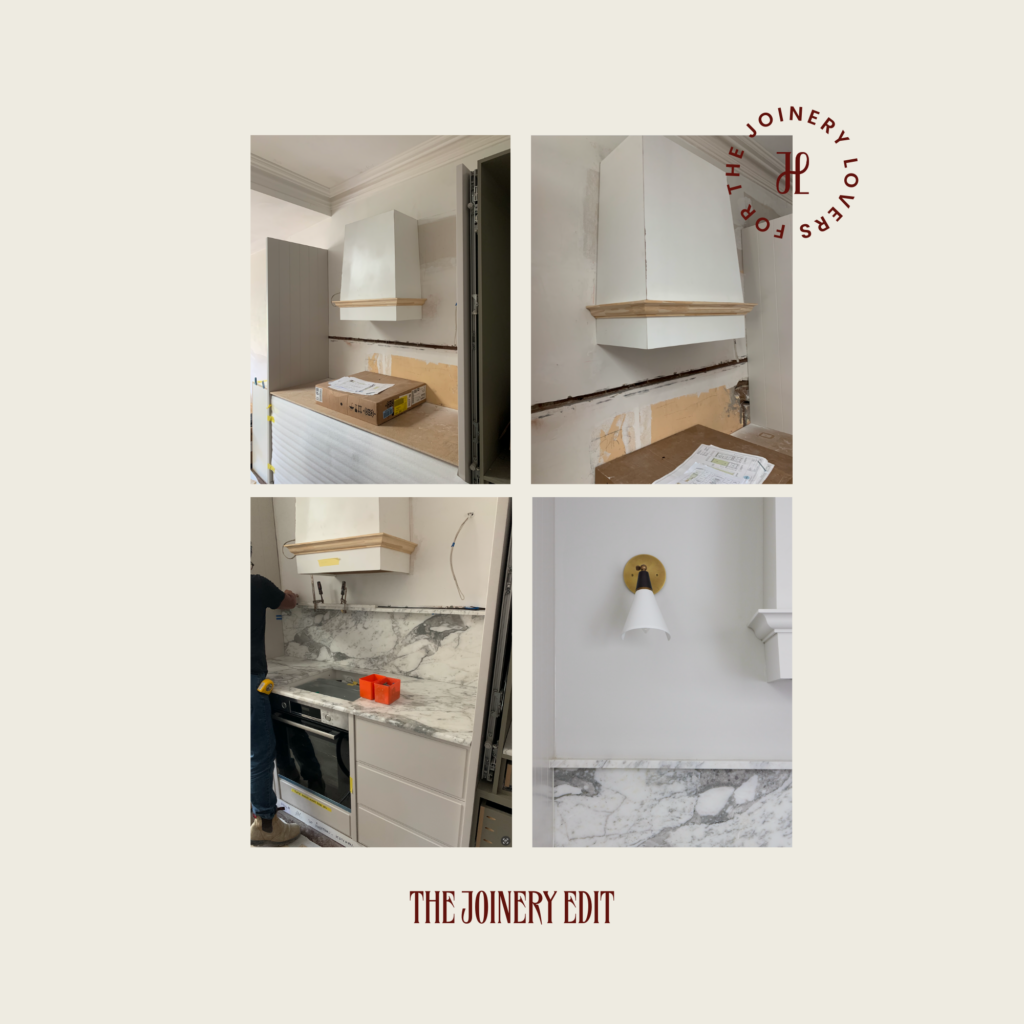
This method will allow the stone shelf to slide into the chased cavity and be supported by the stone splash back. So, 30mm in the wall and 20mm sitting on top of the stone splash = 50mm supported weight.
The Pros:
1. The profile from front view is nice and thin
2. Less cost as no steelwork required.
The Cons:
1. The depth of the shelf is minimal, 80/150mm, depending on how far you can chase into the wall.
2. Chasing into the wall is not always possible if you have plumbing or electrics or are on a party wall.

This is a guide only, acknowledging that construction processes are not always linear, and various methods are applicable depending on the specific application and shelf spans involved. Our aim is to assist you in navigating through these options. It’s essential to seek professional advice when making decisions in this realm.

Comments +